Appearance
Important Note
As of *January 5, 2025*, BMS Payment Reminder has been discontinued. For new add-ons, Node.js is included and does not require separate installation. Please verify whether Node.js is already bundled with your add-on before proceeding.
Installing Node.js 18 on Windows
This guide walks you through the steps to install Node.js 18 on a Windows PC.
Step 1: Download Node.js
- Open your browser and go to the Node.js official website.
Step 2: Run the Installer
- Once downloaded, navigate to your Downloads folder.
- Locate the installer file (e.g.,
node-v18.x.x-x64.msi) and double-click it to start the installation.
Step 3: Start the Setup Wizard
- The Node.js Setup Wizard will open. Click Next to proceed.
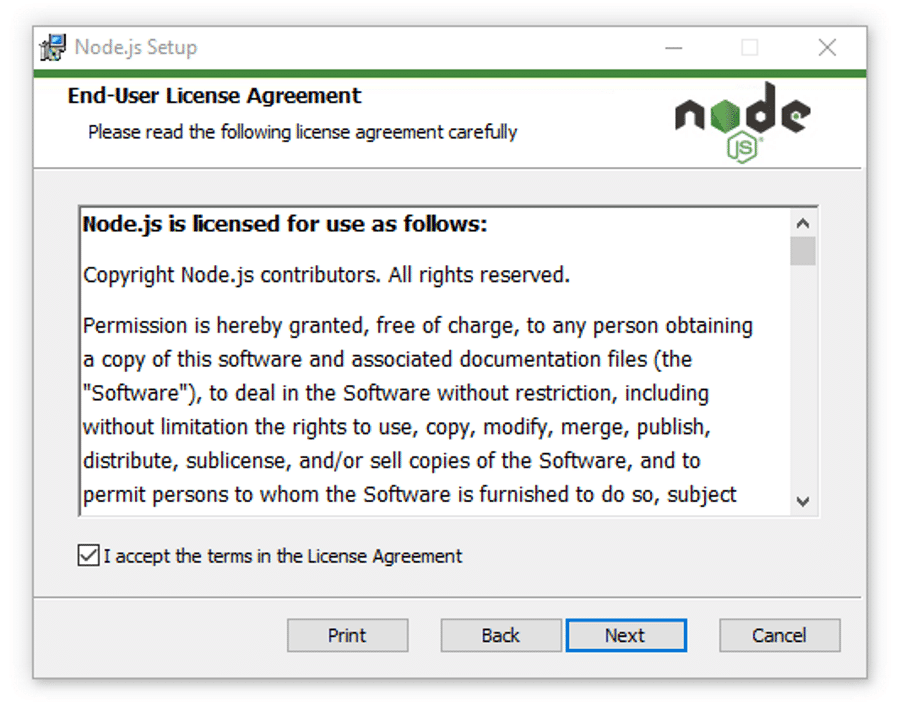
Step 4: Accept the License Agreement
- Review the License Agreement.
- Check the box "I accept the terms in the License Agreement".
- Click Next.
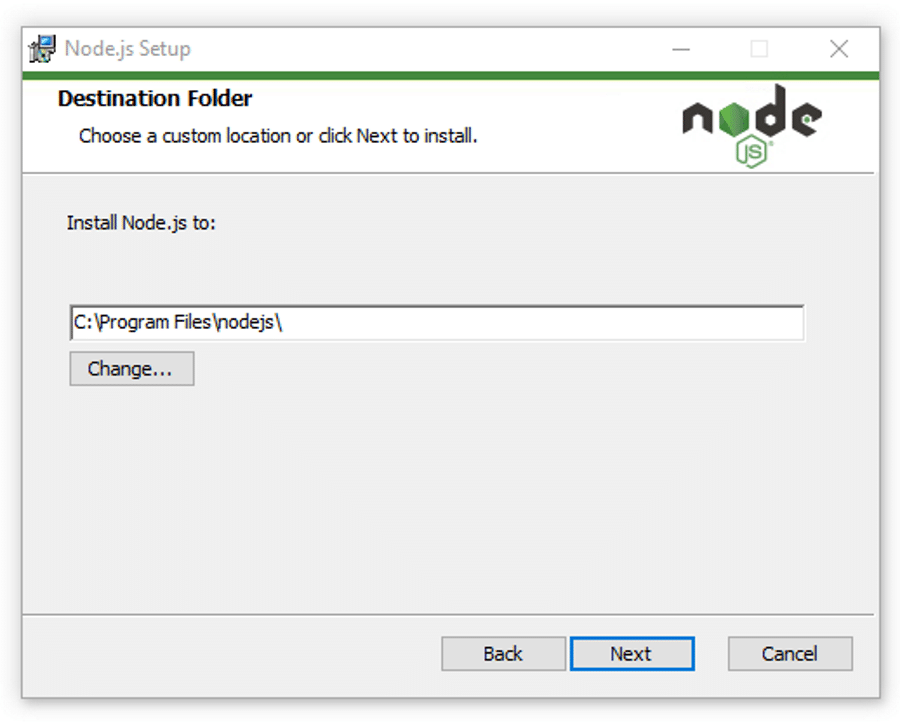
Step 5: Choose the Installation Directory
- By default, Node.js installs in
C:\Program Files\nodejs\. - You can keep this default location or choose a different one by clicking Change….
- Click Next to continue.
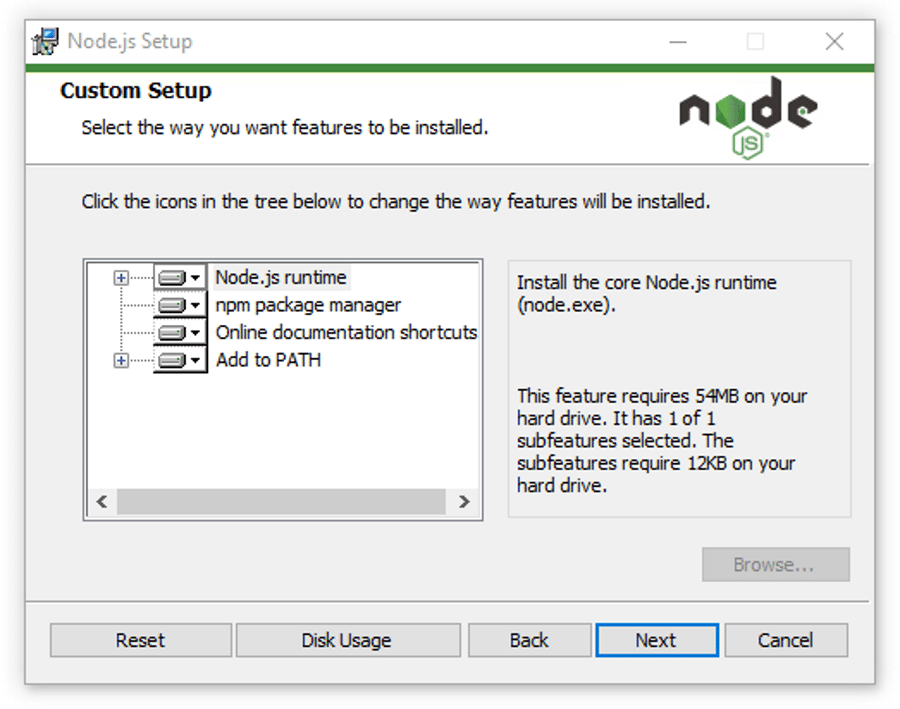
Step 6: Choose Components to Install
- On the components screen, leave the default options checked:
- Node.js runtime
- npm package manager
- Add to PATH
- Click Next.
Step 7: Start the Installation
- Click Install to begin the installation.
- If prompted for User Account Control permissions, click Yes.
Step 8: Finish the Installation
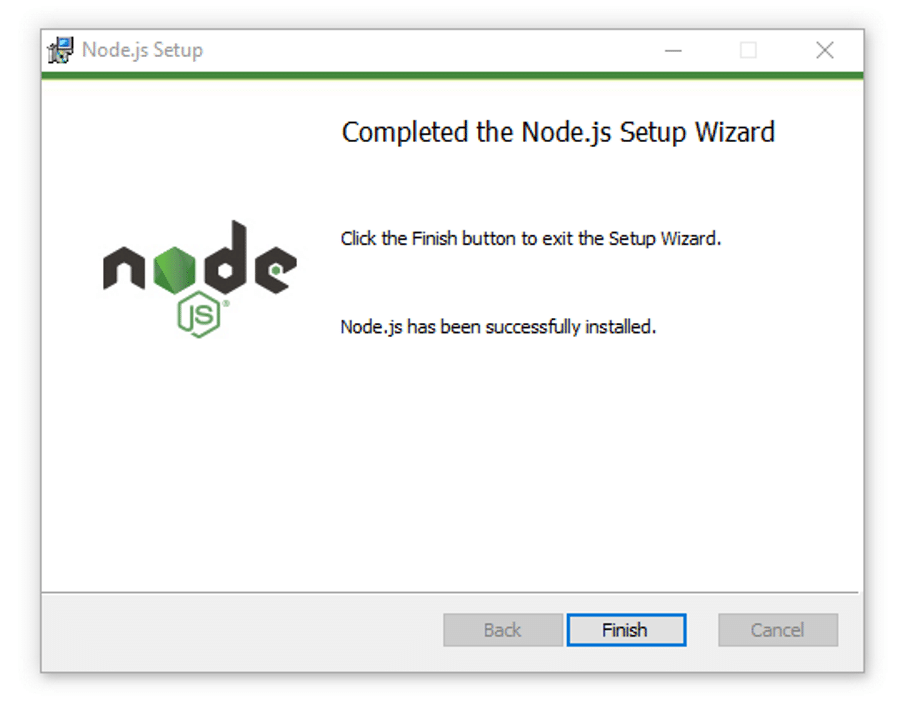
- Once installation completes, click Finish to exit the Setup Wizard.
Step 9: Verify the Installation
- Open Command Prompt:
- Press
Win + R, typecmd, and hit Enter.
- Press
- In Command Prompt, type
node -vand press Enter to check the Node.js version. - Then type
npm -vand press Enter to check the npm version.
You should now see the installed versions of Node.js and npm, confirming the successful installation of Node.js 18 on your Windows PC.
Congratulations! Node.js 18 is now installed and ready to use on your system.
